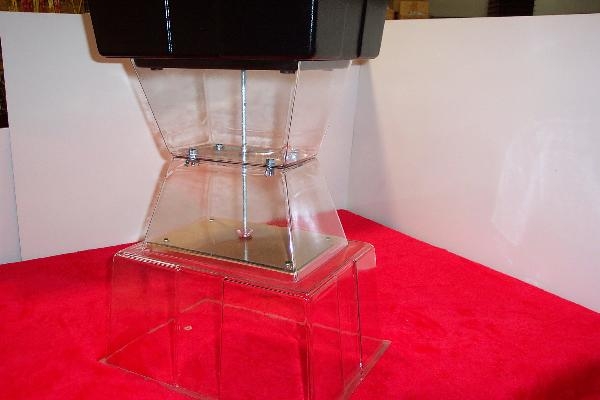
1. Photo is "see through" example of construction steps to complete the Convertible Regi-Stand. Should take only 5 minutes with no tools necessary. Click to enlarge image for greater detail. |
 |
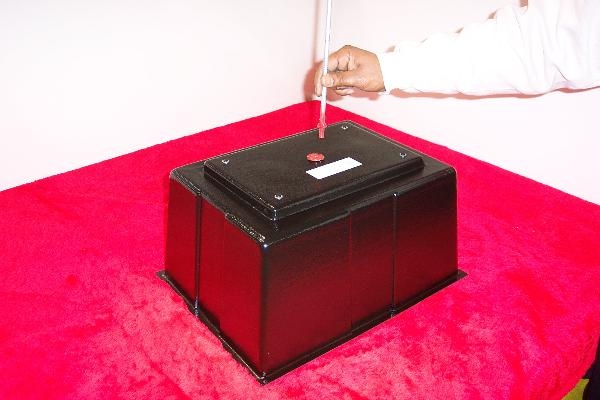
2. Install red painted rod into the base of the Convertible Regi-Stand. Hand tighten wing nut which has been permanently tightened to the rod. Click to enlarge image for greater detail. |
 |
|
 |
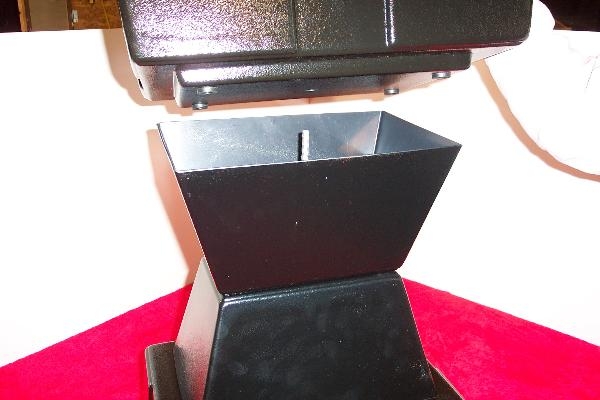
4. Center section bolts aligning both sections perfectly. Wing nuts installed on reverse side. |
 |
5. Install completed center section on base unit with rod through the pre drilled center. Click to enlarge image for greater detail. |
 |
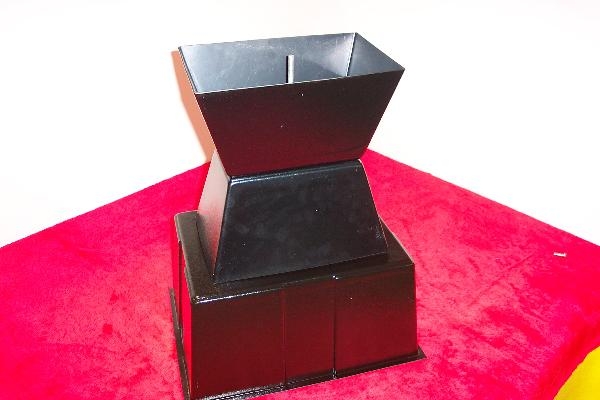
6. Completed base unit with center section and attachment rod. Click to enlarge image for greater detail. |
 |
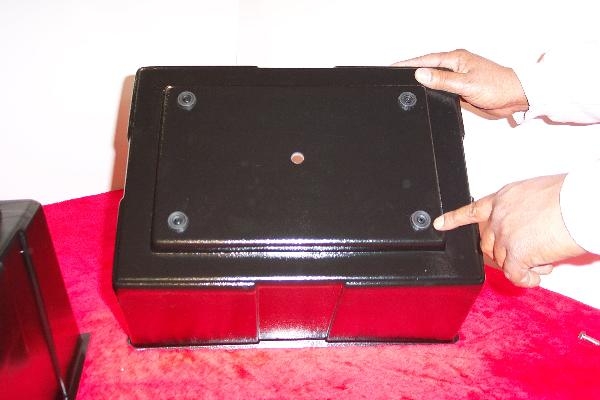
7. Note non-scratch rubber feet to use the convertible top on a table or counter without base unit . Very important when floor space may be limited at a Show or in Store etc. Click to enlarge image for greater detail. |
 |
8. Install top unit on center section to complete the base unit. Click to enlarge image for greater detail. |
 |
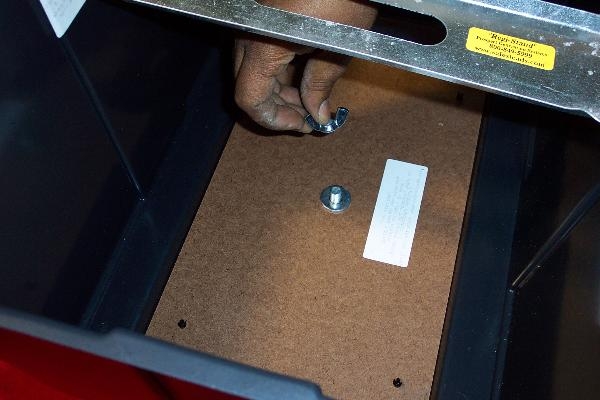
9. Install lock bar to top using #8 bolts, washers and nuts. Tighten with screwdriver and pliers. |
 |
10. Place washer and wing nut on threaded rod. Hand tighten real good and the unit is complete ready for the table top. Click to enlarge image for greater detail. |
 |
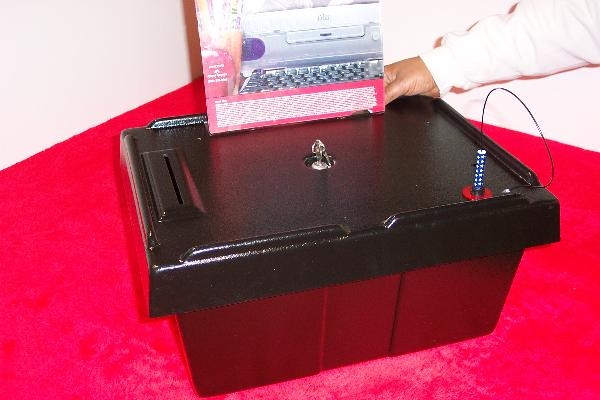
11. The Billboard is shown located on the wide side of the top, note drop slot to the left. Very flexible, hence the name "convertible" Click to enlarge image for greater detail. |
 |
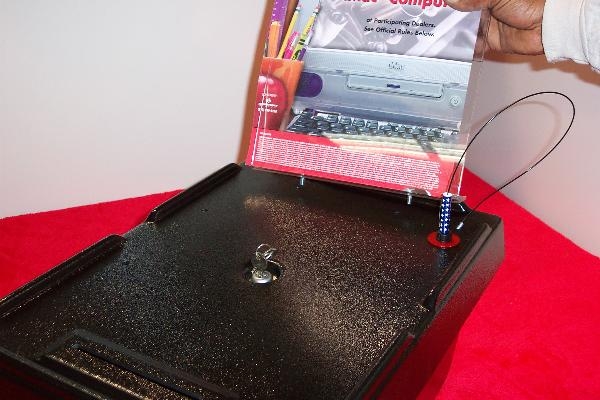
12. Installing Billboard on the "narrow" side of the top. Note drop slot now in the front of the box. Click to enlarge image for greater detail. |
 |
© 1987-2024 SALES LEADS CONTEST BOXES Industrial Drive Wendell, NC 27591
